Guides · August 23, 2026 · 7 min read
Medical Product Photography: Accuracy Before Atmosphere
Medical product images should document identity, scale, packaging, included parts, controls, labels, and condition without implying unsupported use or outcomes.
By Polo Themes
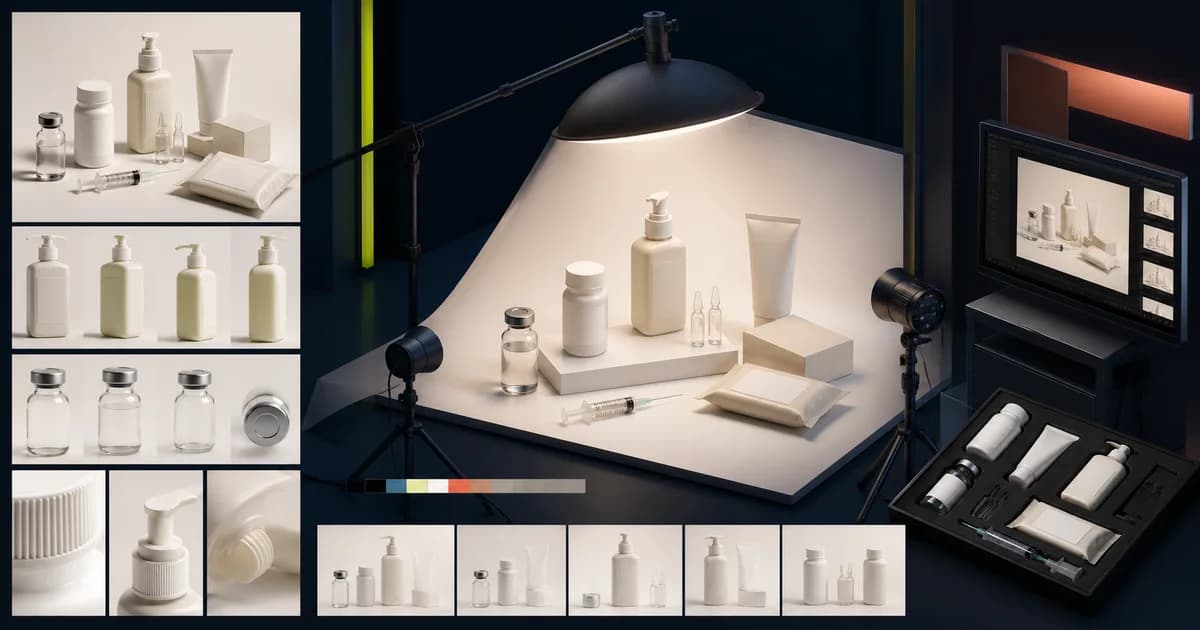
The short answer: medical product photography should first help someone identify exactly what will arrive. Before trying to create atmosphere, show the product, packaging, identifiers, included parts, controls, labels, condition, and scale accurately. Images can influence a customer’s understanding as strongly as text, so they must be reviewed against the current product record. This is a content-production guide, not medical or regulatory advice; obtain qualified review for imagery and claims that need it.
Start from the product record
Do not begin with a mood board. Begin with the approved product record and the questions support receives. Confirm the exact model, variant, package configuration, included accessories, relevant identifiers, material or color distinctions, and condition standard. Write a shot list from those facts. If the physical item does not match the source record, stop the shoot and resolve the discrepancy. A beautiful image set that documents the wrong bundle is worse than no image set because it creates a confident but inaccurate expectation.
- Use the actual sellable variant, not a similar sample, wherever possible.
- Keep the item identifier, package state, and included parts visible in the shoot record.
- Document any retouching that changes a visual characteristic.
- Name an owner who checks the final images against the listing before publication.
Build a documentation shot list
Most products need more than one polished front view. Capture front, rear, sides, top or underside where meaningful, packaging, labels, connectors or controls, included accessories, and a scale reference when dimensions alone will not make the item understandable. For a variant family, establish repeatable angles and crops so shoppers can compare products without guessing whether a difference comes from the product or the photography. Add descriptive alt text that identifies the view and material detail rather than repeating the product title.
Preserve color, material, and condition truth
Neutral, repeatable lighting helps preserve important distinctions in texture, transparency, finish, labels, and packaging. Calibrate the production process and check the final files on more than one display, but do not promise that every screen reproduces color identically. Where condition matters, create separate standards for new, opened, refurbished, or other supported states. Do not use a pristine hero image for an item sold in a materially different condition. State relevant condition detail in text as well; an image alone is not an accessible disclosure.
Show scale without staging misuse
A scale reference can prevent a costly misunderstanding, but it should not stage a product in a way that implies an approved use, personal suitability, or professional supervision that the listing cannot support. A simple measured context, a known neutral object where appropriate, or a clearly labeled dimensional diagram may be safer and more precise than a dramatic lifestyle scene. When a human model or care setting is used, review the combined visual message with the responsible qualified owners, not only with the photo team.
Keep labels and documents readable
Product labels and instructions may contain important identity or limitation information, yet glossy photography can make them unreadable. Capture dedicated close-ups under controlled light, provide supporting text or linked documents where necessary, and verify that the published image is legible at the rendered size. Do not substitute a photo of a label for the content a customer needs to read. The page should preserve essential information in text and make the current approved document easy to find.
Separate editorial context from product evidence.
Editorial imagery can support a campaign or explain a general category, while documentary images help verify a specific listing. Give these assets different filenames, approval paths, and placements. An editorial scene should never accidentally appear as the only product image. Likewise, a technical pack shot may be poor campaign art but is still indispensable near purchase controls. This separation makes later audits simpler because the team can see which assets are making product representations and which are providing general context.
Plan for accessibility and responsive behavior
An image gallery needs keyboard-operable controls, visible focus, meaningful labels, sufficient touch targets, and an alternative to hover-only details. Test zoom, gallery order, and variant changes on a narrow screen. Write alt text for the information conveyed by each meaningful image; do not fill it with decorative adjectives. If a detail is only visible in a high-resolution zoom, make sure the same decision-critical fact appears in readable text. Accessibility review protects more than compliance: it exposes what the image is actually expected to communicate.
Use Medical design systems to keep the gallery consistent.
Polo Themes provides Medical Figma UI and Medical E-Commerce Shopify Theme as direct foundations for this niche. The Figma kit documents editable components, organized layers, and a design system that can help a team define consistent gallery, label, and specification treatments before development. The Shopify theme documents a responsive commerce layout that can carry the approved images into product pages. In both cases, populate the design with your verified photography and text; a stock or demo image should not become the factual representation of a live item.
Run a final image-to-item audit
Before publishing, put the physical item, product record, packaging, and rendered listing side by side. Check model identity, variant color, count, included parts, labels, condition, captions, alt text, and linked documents. Then examine the page after a variant change and in an unavailable state. Repeat the audit whenever a supplier changes packaging or the listing receives a new batch of images. This simple discipline is often the fastest way to reduce corrective support contacts and mismatched-order frustration.
A practical production sequence.
- Approve the product record and shot list before the item reaches the studio.
- Capture documentary angles first, then any editorial assets under a separate brief.
- Select and retouch without changing product identity, condition, or material meaning.
- Write captions and alt text from the final, approved asset set.
- Audit the rendered gallery against the physical item and release only after the owner signs off.
Photograph changes as carefully as launches
When packaging, included parts, labeling, or a visible variant changes, do not quietly mix old and new assets. Compare the revised item with the approved shot list, identify which images are no longer representative, and decide how open inventory and orders will be described. Keep the capture date and item identifier with the asset so the gallery can be audited later.
- Retire images that show obsolete contents or labeling.
- Keep variant-specific assets attached to the matching item record.
- Update captions, alt text, thumbnails, feeds, and support references together.
- Check that editorial images do not reintroduce the superseded version.
- Re-run the rendered image-to-item audit before release.
Keep the original capture and approved derivative connected. A future reviewer should be able to see what was cropped, cleaned, color-corrected, or composited and why. If an edit removes a mark, changes a label, combines items, or alters apparent condition, stop and obtain the appropriate product and content review before publication rather than treating it as routine polish.
Document the intended destination too. A small collection thumbnail, zoomable product image, document illustration, and campaign crop have different jobs. Approve each rendered use against the same item record so a safe source image is not turned into a misleading context through cropping or adjacent copy.
Conclusion
Accuracy is the creative standard for medical product photography. A complete gallery reduces uncertainty by documenting what the shopper receives, while careful context avoids implying something the offer cannot support. Build every shoot from a verified record, preserve visual truth through production, and test the gallery as a usable interface. Keep the original asset, source record, and publication decision connected so a later packaging or variant change is easy to audit. The result can still be attractive, but its first job is to help someone make an informed purchase decision.
Frequently asked questions
Can we use supplier images?
Use them only when the business has the necessary rights and has verified that they depict the exact current item, package, and variant. Supplier imagery still needs the same accessibility, accuracy, and review process as an in-house shoot.
Should product photos show a person using the item?
Only when the setting, use, permissions, and resulting message are accurate and appropriately approved. A demonstration can imply suitability or an outcome, so it deserves more review than a neutral documentation image.
What is the minimum image set for launch?
The minimum is the set needed to identify the actual item and avoid material misunderstanding: usually the product, package, relevant identifiers, included parts, and important physical details. The exact set depends on the product and support questions, not a universal number of images.