Guides · August 23, 2026 · 7 min read
Clothing Product Photography Guide
Plan, capture, review, and publish clothing photography that shows shape, colour, texture, construction, fit context, and care-relevant detail.
By Polo Themes
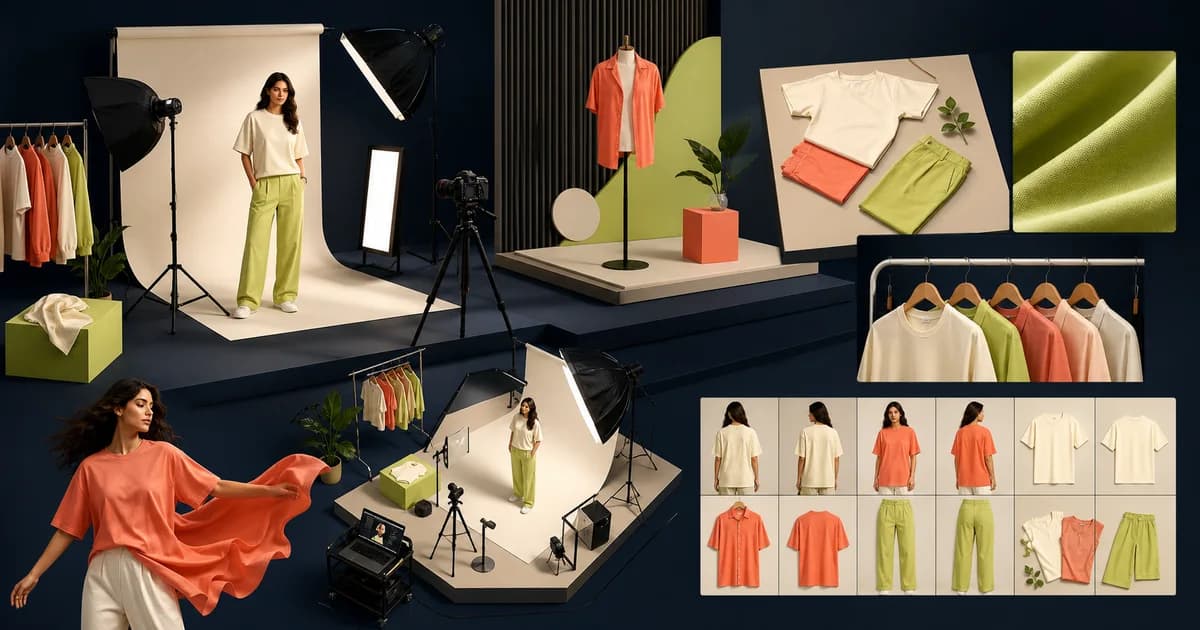
The short answer: clothing photography should answer the visual questions a shopper cannot answer from a product name: silhouette, scale, colour, texture, construction, closures, opacity, and styling context. Create a repeatable shot list from the product record, capture it consistently, and review the final images beside the actual garment. A striking campaign image can invite interest; it cannot replace honest documentation.
Start with the buying questions
Before choosing a backdrop or model, list what a customer must judge for this category. A jacket may need front, back, collar, closure, pocket, lining, and worn views. Knitwear may need texture, stretch context, and a close view of the rib. A dress may need silhouette, strap, hem, transparency, and movement. The list should change when the product changes. Reusing one flattering pose for every garment produces a coherent feed and weak product information.
Connect each planned image to a specific question and field in the product record. This prevents a common breakdown: the photographer captures an item before variant, construction, fit, or available-colour information is settled, then the storefront has imagery that cannot be reconciled with the purchasable product. Give the photographer current samples, colour names, style codes, and a contact who can resolve factual uncertainty during the shoot.
Build a core shot list
- Primary full-garment view: show the intended overall shape without an obstructing pose or crop.
- Alternate front, back, and side views: reveal design features that one angle hides.
- Construction detail: capture closures, pockets, seams, lining, straps, cuffs, hardware, or other decision-changing details.
- Material detail: show texture, weave, knit, print, sheen, or pile under controlled lighting.
- Worn context: show how the garment sits on a person while recording the relevant model and size information.
- Scale or length context: use a consistent composition where it helps a visitor understand proportion.
- Colour-specific image: show material variants truthfully rather than reusing a generic image for materially different finishes.
- Care or label reference: capture only when it provides useful product evidence and keep required information readable elsewhere in text.
Control the capture, not the customer’s perception
Consistency starts with a documented setup: camera position, focal-length range, lighting arrangement, background, mannequin or model approach, garment preparation, crop, file naming, and colour reference. Record changes between shoots so the team knows why a later item looks different. Controlled photography does not mean erasing reality. Steam and prepare the garment, but do not retouch away construction characteristics, materially alter colour, or present a styling intervention as if it is part of the item.
Reflective fabrics, dark garments, white garments, and prints need special attention because a camera can exaggerate or lose information. Take review frames rather than relying on the monitor impression during a busy shoot. Compare samples under ordinary viewing conditions as well as calibrated equipment. The goal is not a numerical colour guarantee across every display; it is to avoid an avoidable mismatch between what is sold and what arrives.
Use models with clarity and respect
Model imagery can explain drape, length, volume, and styling, but it should not claim universal fit. Where appropriate and consented, provide relevant model context such as worn size and a limited measurement reference. Use consistent wording and avoid reducing people to data. A garment should also remain inspectable without a model, because customers need to see the construction and shape independent of a styled look.
Plan permissions and usage rights before publishing. Know where imagery may appear, whether it can be cropped or adapted, how long it can be used, and who can request changes. Treat creator, model, and location agreements as operating records. An asset that cannot be used in email, paid media, product pages, and social formats creates expensive uncertainty after the shoot.
Pair image order with the product decision
The first image earns attention, but the sequence earns confidence. A practical order moves from overall shape to alternate angle, worn context, material and construction, then any variant-specific evidence. Keep comparable categories in a comparable order so visitors can scan without relearning the gallery. Do not rely on infinite zoom to rescue a vague source image, and do not hide essential information in a hover state that touch users cannot reach.
Images need accessible text alternatives. Describe the visible content and state when it supplies information that the adjacent copy does not already communicate. A concise alternative such as “Black wool-blend coat shown from the back, with a centre vent” is more useful than a filename or promotional phrase. Decorative images can be treated differently, but the product gallery is usually decision-critical content.
Create a publish review
Review the complete product page, not just exported files. Confirm the selected variant maps to the right image, colour label, price, material, and availability. Check the gallery on a narrow phone, a larger display, keyboard navigation, and slow network conditions. Test missing-image and unavailable-variant states. Reviewers should include the person accountable for product facts as well as someone who can see visual and accessibility problems.
- Compare each image with the physical sample and its current product record.
- Check that every colour, finish, or print receives enough specific evidence to avoid misleading reuse.
- Verify crops, image order, alternative text, captions where needed, and loading behaviour.
- Make styling and included accessories distinguishable from the item for sale.
- Confirm that fit notes, measurements, material, care, delivery, and return information remain easy to reach beside the gallery.
- Record the review date and replace assets when the sample, supplier, construction, or colour changes.
Use Wosa as a delivery surface, not a photography standard
Wosa is Polo Themes’ catalogued Shopify theme for fashion and clothing, positioned around responsive, customizable presentation and product display. It can provide the storefront framework for a gallery and product hierarchy. It does not decide which images are necessary, ensure that a swatch matches a sample, or create accessible alternative text. Establish the photography system first, then configure the theme so the evidence remains visible and usable on real devices.
Measure what photography changes
Watch gallery interaction, product-to-variant-selection progression, size-guide use, support questions about colour or detail, and return reasons that identify visual mismatch. Interpret those measures with care. More image zoom may mean stronger interest or unresolved uncertainty. Pair numbers with customer questions, post-purchase feedback, and a review of the actual items being returned. When a recurring question appears, update the shot list rather than merely adding more images.
Rehearse one garment from rail to rendered page
Select a style with multiple sizes and colors and follow one physical sample through preparation, capture, retouching, file naming, variant assignment, publication, and support. At every handoff, compare the style code and selected variant. This catches a common class of error: a beautiful approved image attached to the wrong color, an older sample, or a product record whose construction changed after the shoot.
Review the rendered gallery beside the garment, not only the source files. Check whether compression, crop, background, display brightness, and image order alter what a shopper can inspect. Color cannot be guaranteed across every screen, so combine careful capture with accurate color naming and a restrained note where useful. Do not use that limitation as permission for aggressive grading that breaks the relationship to the sample.
- Confirm style, sample version, size, color, and included pieces before capture.
- Record any pinning, temporary styling, or support that changes the visible silhouette.
- Preserve texture and construction details during retouching.
- Attach final assets only to the matching variants and verify the change on the live selector.
- Retire outdated images across product pages, collections, feeds, and campaigns when the garment changes.
Add a movement brief when drape or range of motion matters to the buying decision. Name the action, garment state, view, and detail the sequence must reveal. Select frames that show the product clearly rather than only the most dramatic pose. Video should complement, not replace, still images that document front, back, construction, and variant.
For sets and layered styling, create an included-items note before shooting. The gallery, caption, product title, and cart line should agree about what the customer receives. Link separately sold pieces without making the complete look appear to be one bundled product.
Conclusion
The best clothing photography is both desirable and inspectable. It respects the customer’s need to see the garment as it is, the team’s need for a scalable process, and the brand’s need for a coherent point of view. Capture what customers need to decide, write down the standard, and revise it from real evidence after products reach people.
Frequently asked questions
How many images should a clothing product have?
Use enough images to answer the relevant visual questions. The right number changes by garment; a simple tee and a lined technical coat do not require the same evidence.
Can retouching be used?
Normal production work can be appropriate, but it should not materially misrepresent colour, construction, garment behaviour, or what is included in the sale.
What should be revised when customers ask repeated image questions?
First identify the exact missing decision evidence, then add or reorder a purposeful image and confirm that the written product information supports it.